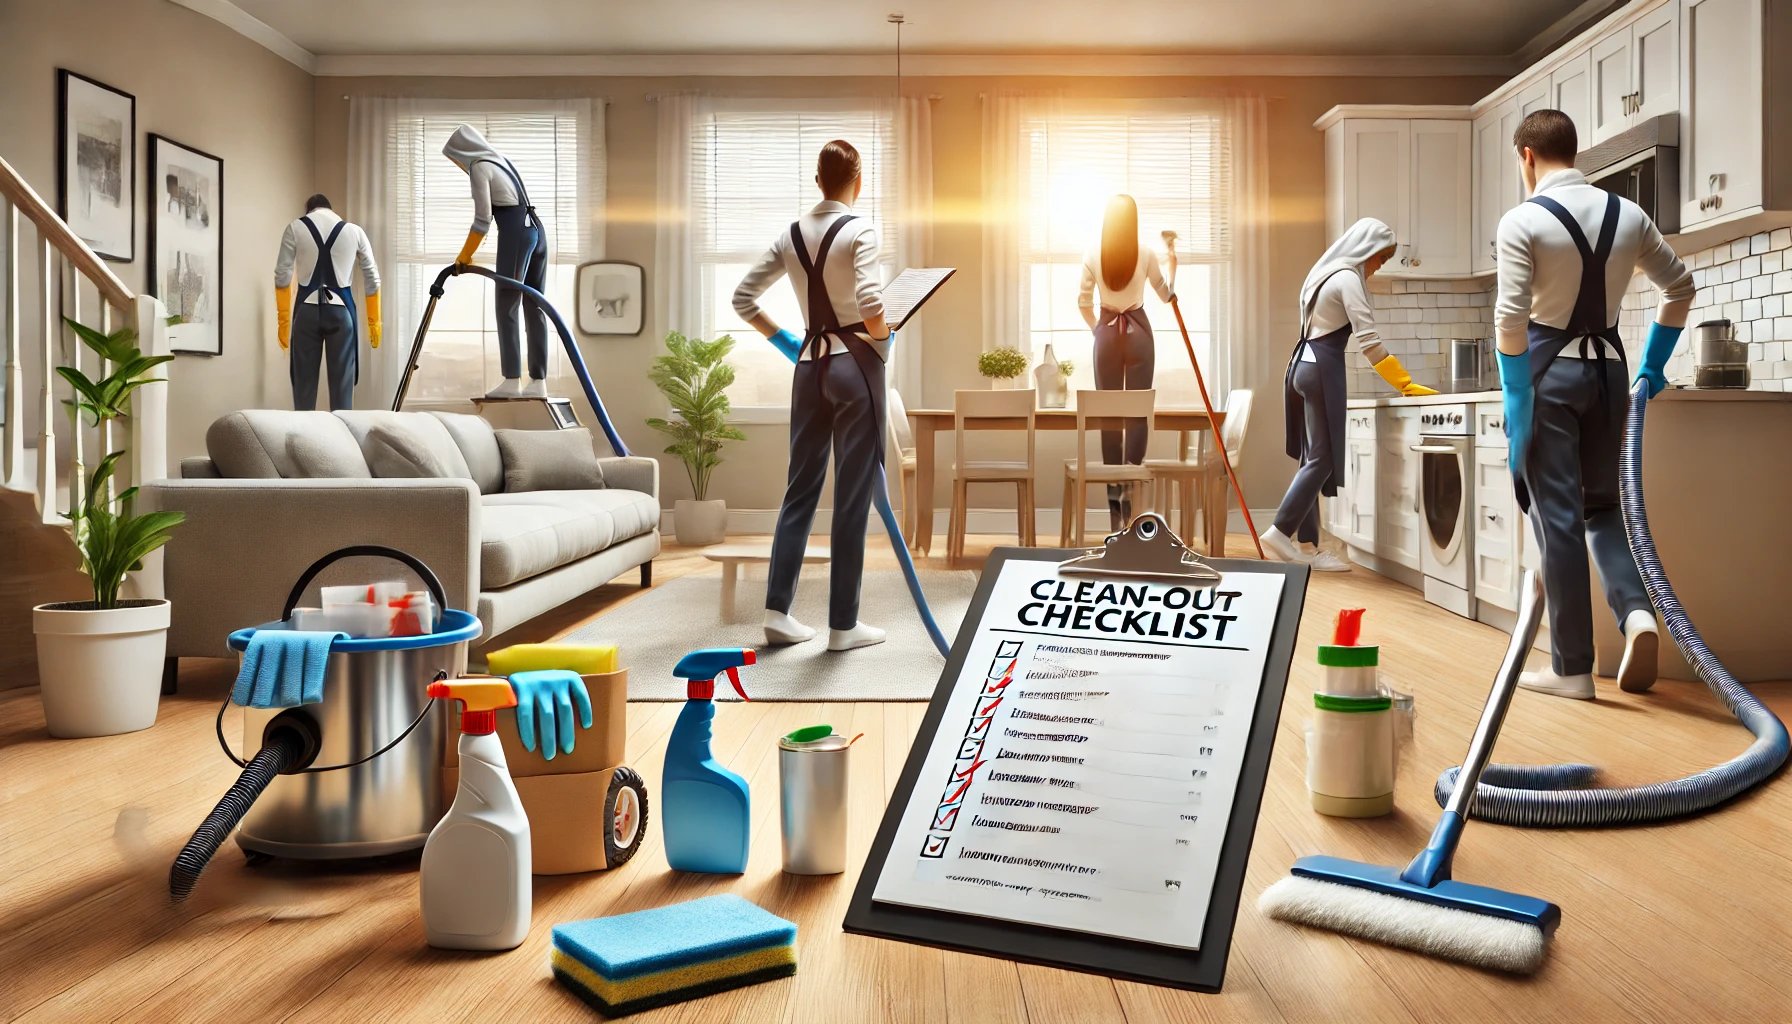
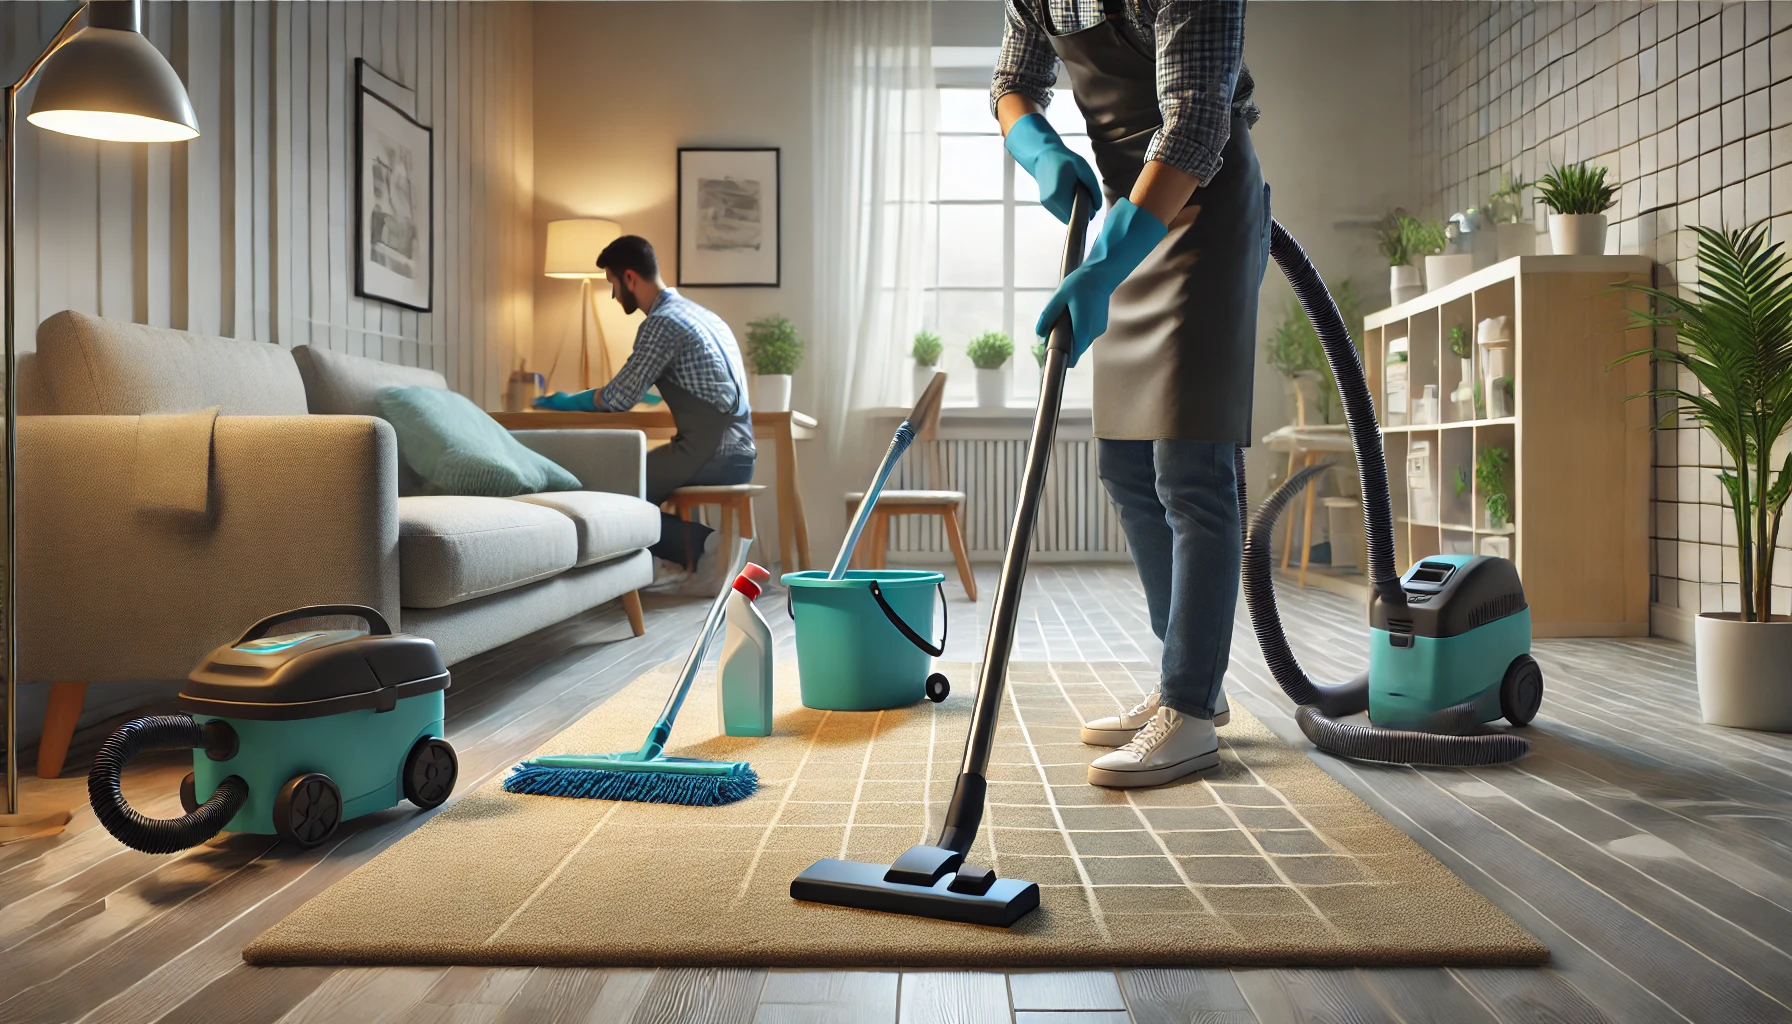
Moving out can be a stressful experience, especially when it comes to ensuring your old place is spotless. A thorough move-out cleaning is essential not only for getting your security deposit back but also for leaving a great impression on your landlord or the new occupants. Deep cleaning every nook and cranny can be overwhelming, but with the right plan, you can tackle it step-by-step and make the process more manageable. To help you out, we’ve put together the ultimate move-out cleaning checklist that covers all the essential tasks to help you leave your place looking immaculate and ready for the next tenant.
1. Declutter and Remove Personal Items
Before you begin the actual cleaning, remove all your personal belongings. Decluttering makes it easier to clean every corner and ensures that nothing is left behind. Go room by room and double-check closets, cabinets, and drawers to make sure they’re empty. Dispose of items you no longer need or donate usable goods to charity. The less clutter you have, the easier and more efficient your cleaning will be. Take the opportunity to downsize and organize so that your move becomes less cumbersome.

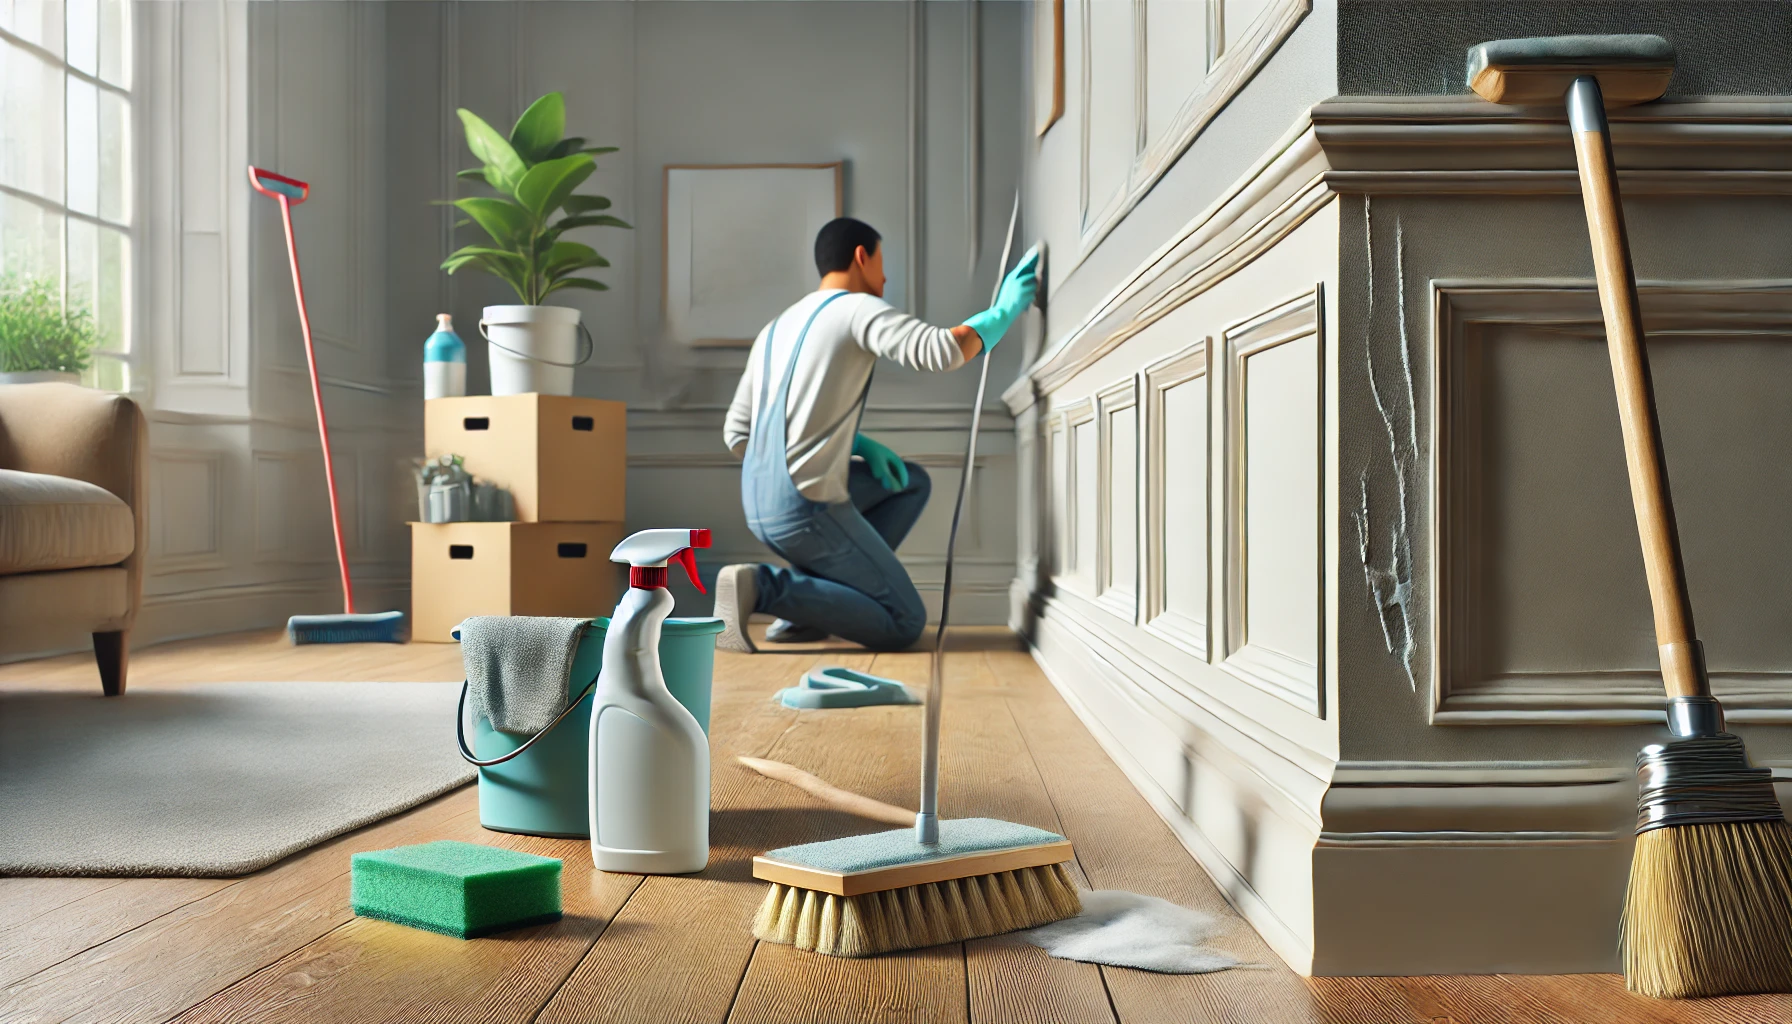
2. Clean the Walls and Baseboards
Inspect the walls for any scuff marks, stains, or dirt. Use a mild cleaner to wipe down walls, especially if you notice visible handprints or marks. For tougher stains, consider using a magic eraser to gently scrub the affected area. Don’t forget to clean baseboards, as they tend to collect dust, grime, and pet hair. Pay extra attention to corners and any areas near entrances, as these tend to accumulate more dirt. If there are nail holes from wall hangings, patch them up with spackle and touch up with paint if needed. This will give the walls a clean and fresh look, helping you make a positive impression.
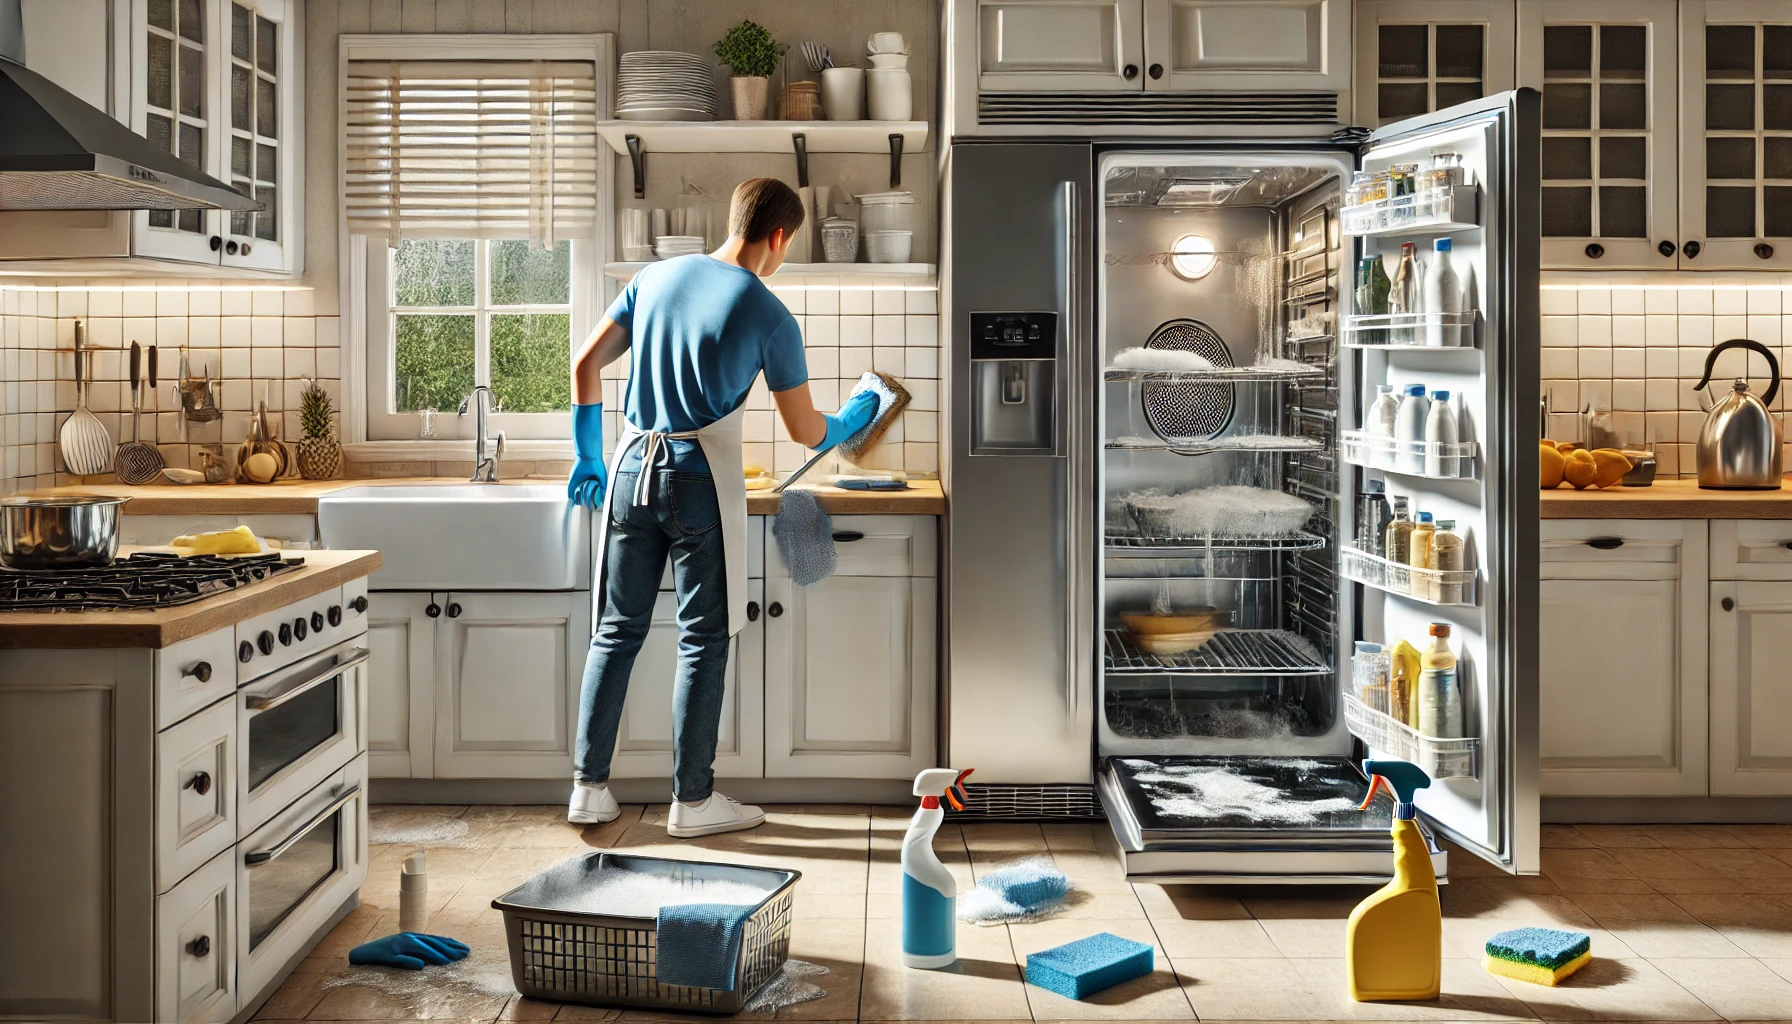
3. Deep Clean the Kitchen
The kitchen is one of the most heavily used areas, and it requires thorough attention during a move-out cleaning.
- Oven and Stove: Use an oven cleaner to remove baked-on residue. Remove the oven racks and soak them in hot, soapy water to make scrubbing easier. Wipe down the stovetop thoroughly, paying attention to burners and any removable parts. If you have a gas stove, ensure all burners are free of grease and food debris.
- Refrigerator: Empty the fridge completely, defrost if necessary, and wipe down all surfaces, including drawers and shelves. Remove any lingering food smells by wiping with a mixture of baking soda and water. Leave the fridge doors slightly ajar if the electricity will be off to prevent mold growth.
- Cabinets and Countertops: Wipe down cabinets inside and out, removing crumbs, food residue, or grease. Clean countertops to remove any stains, sticky spots, or spills. Pay special attention to corners where dirt tends to build up.
- Sink and Fixtures: Scrub the sink to remove stains, and ensure faucets are free of water spots and limescale. Use a toothbrush to clean around edges and tight spots. Finish by polishing fixtures to make them shine.
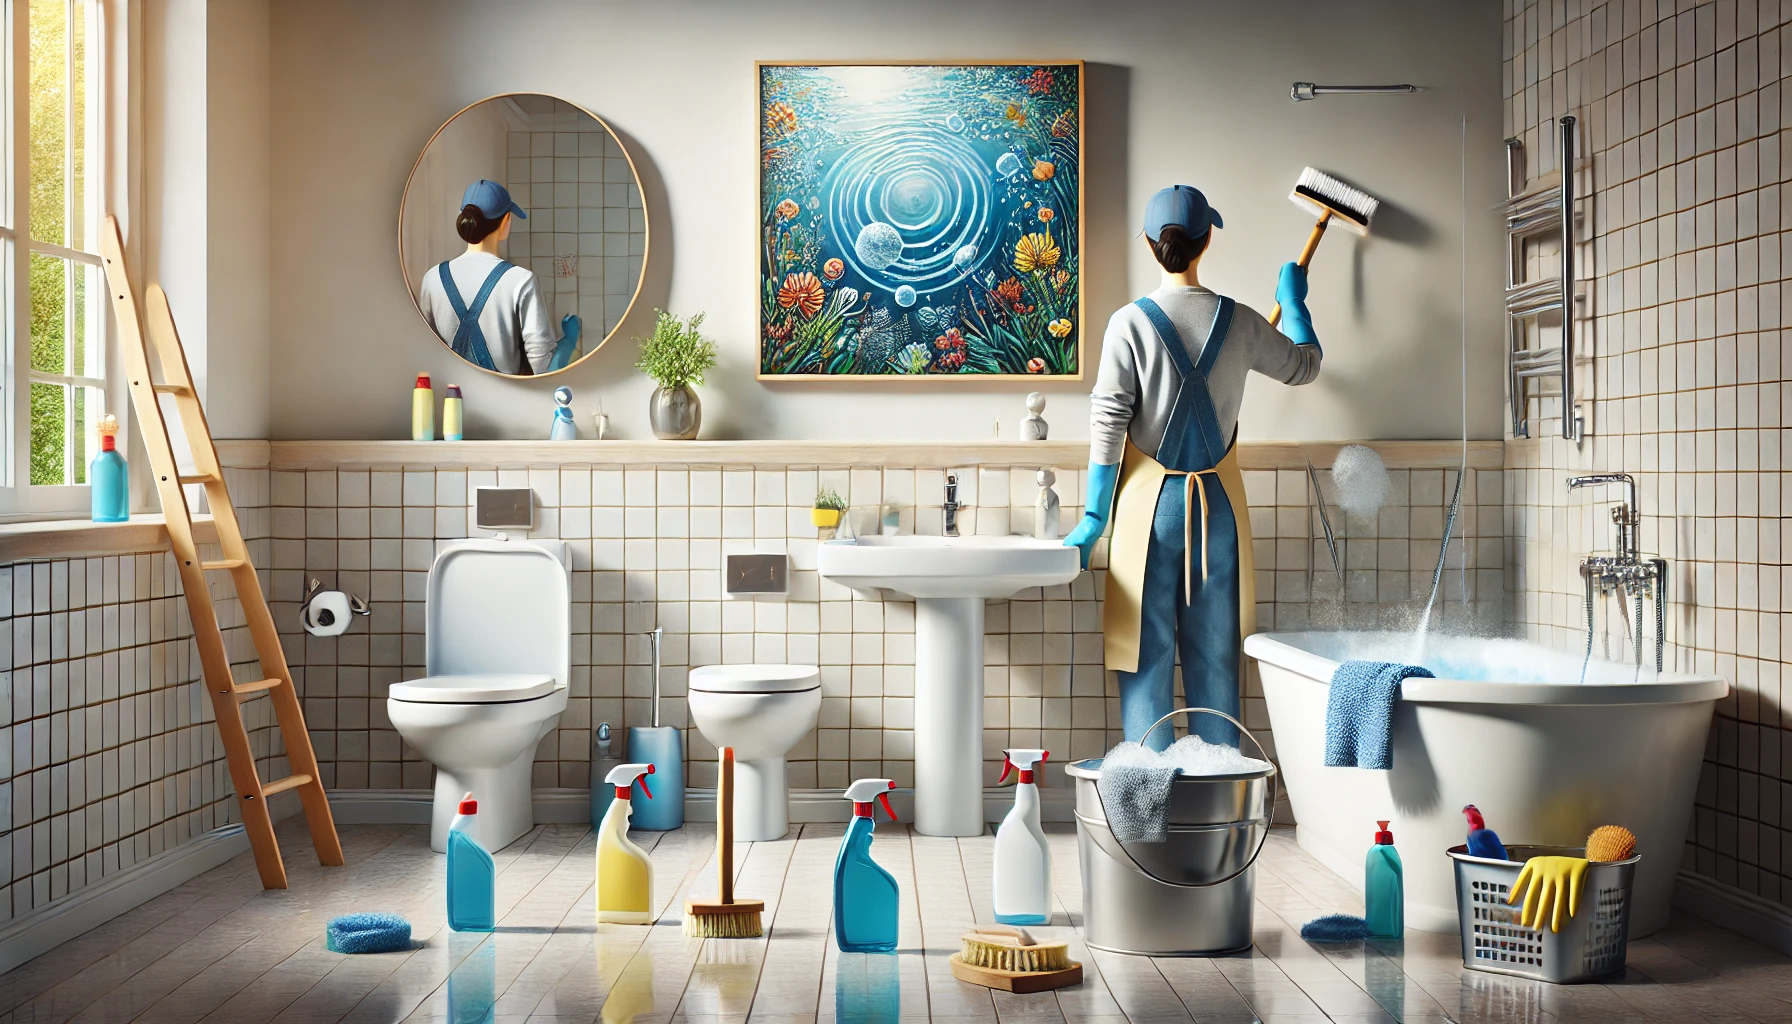
4. Bathroom Cleaning
The bathroom requires meticulous cleaning to ensure all fixtures are sanitized and sparkling.
- Toilet, Sink, and Tub: Use a strong disinfectant to clean the toilet, sink, and bathtub. Scrub tiles and grout to remove soap scum, mildew, and mold. For extra cleaning power, use a grout brush with a mixture of baking soda and vinegar.
- Mirrors and Fixtures: Clean mirrors with a streak-free glass cleaner, ensuring no spots or streaks are left behind. Wipe down all fixtures until they shine, including showerheads, taps, and towel bars.
- Cabinets and Drawers: Empty and wipe down all cabinets and drawers to ensure they are clean and ready for the next occupant. Remove any drawer liners, and wipe the surfaces thoroughly to eliminate dust and dirt.
5. Floors and Carpets
- Vacuum Carpets: Vacuum all carpets thoroughly, making several passes to pick up all dirt and debris. If there are stains, consider using a carpet cleaner or hiring a professional service to remove them. Pay special attention to high-traffic areas and under furniture that may have been neglected during regular cleanings.
- Sweep and Mop Hard Floors: Sweep and mop hardwood, tile, or laminate floors to ensure they are free of dust and dirt. Use the appropriate cleaning solution for each type of flooring to avoid damage. Be sure to clean along baseboards and in corners where dust tends to accumulate.
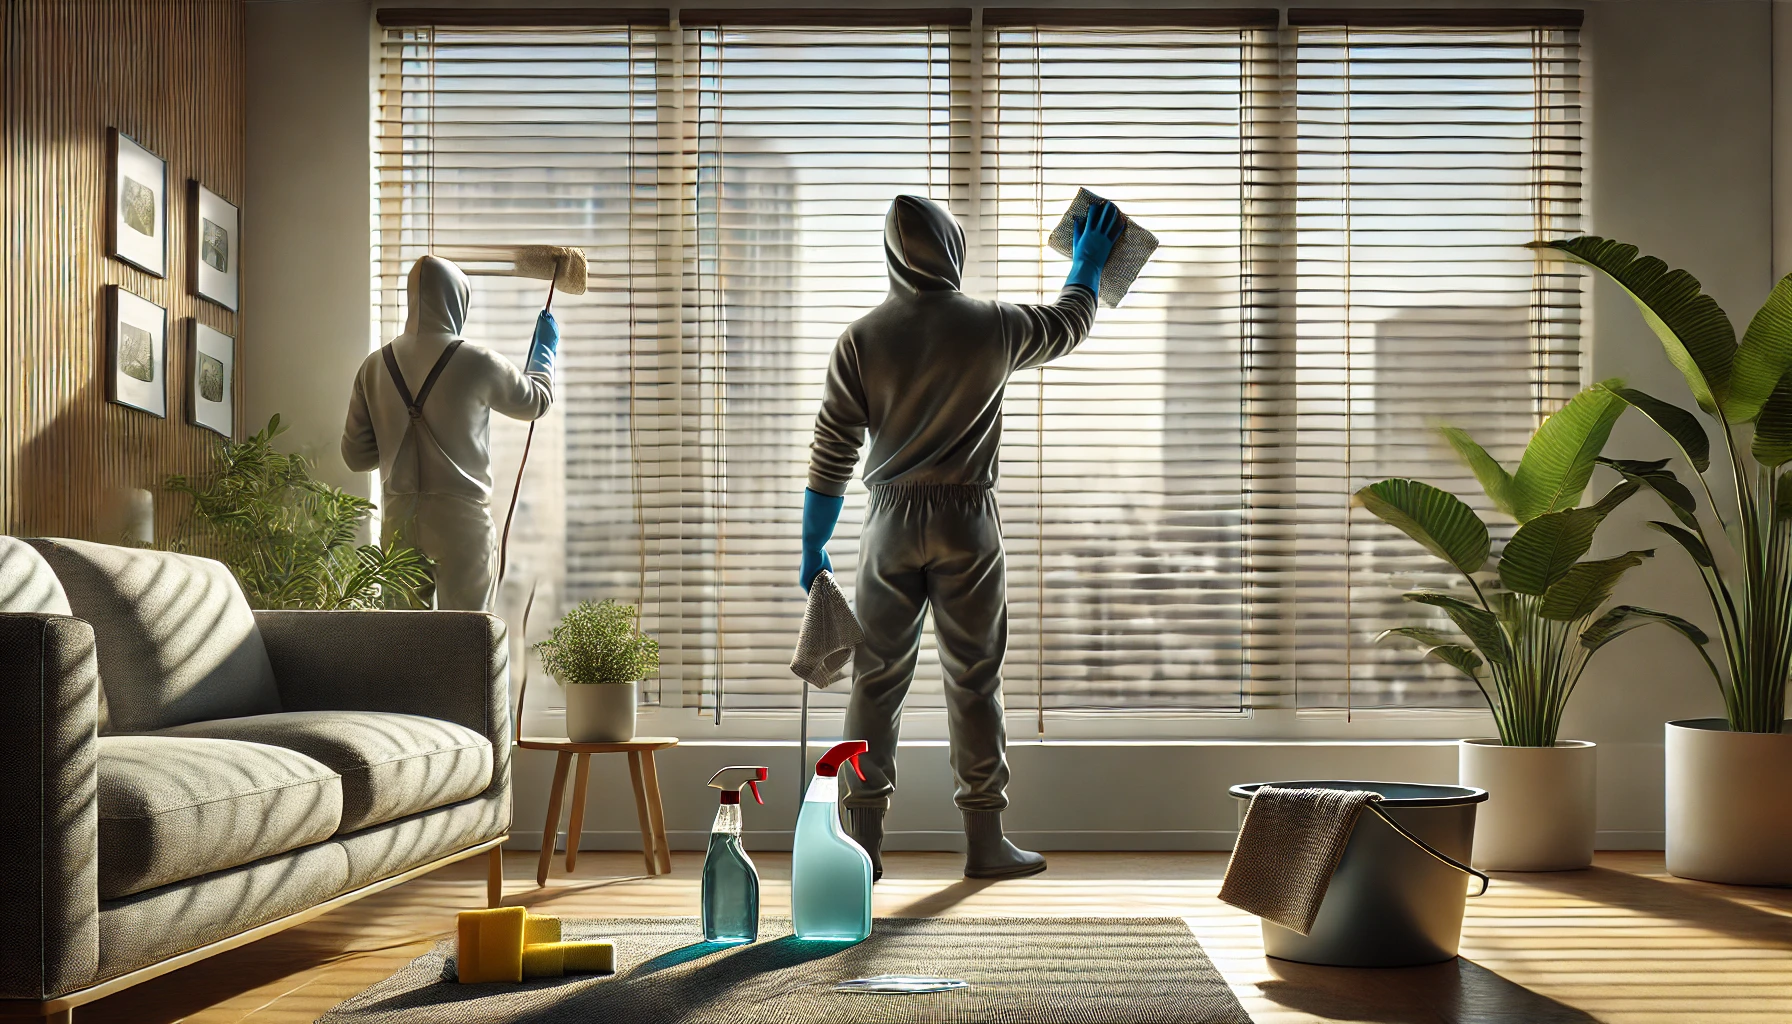
6. Windows and Blinds
Clean all windows inside and out, if accessible. Use a quality glass cleaner to ensure they are streak-free, and wipe with a microfiber cloth for the best results. Don’t forget to dust blinds or wash curtains, as these can collect a significant amount of dust over time. If the blinds are particularly dirty, consider taking them down and soaking them in warm, soapy water before drying and reinstalling.
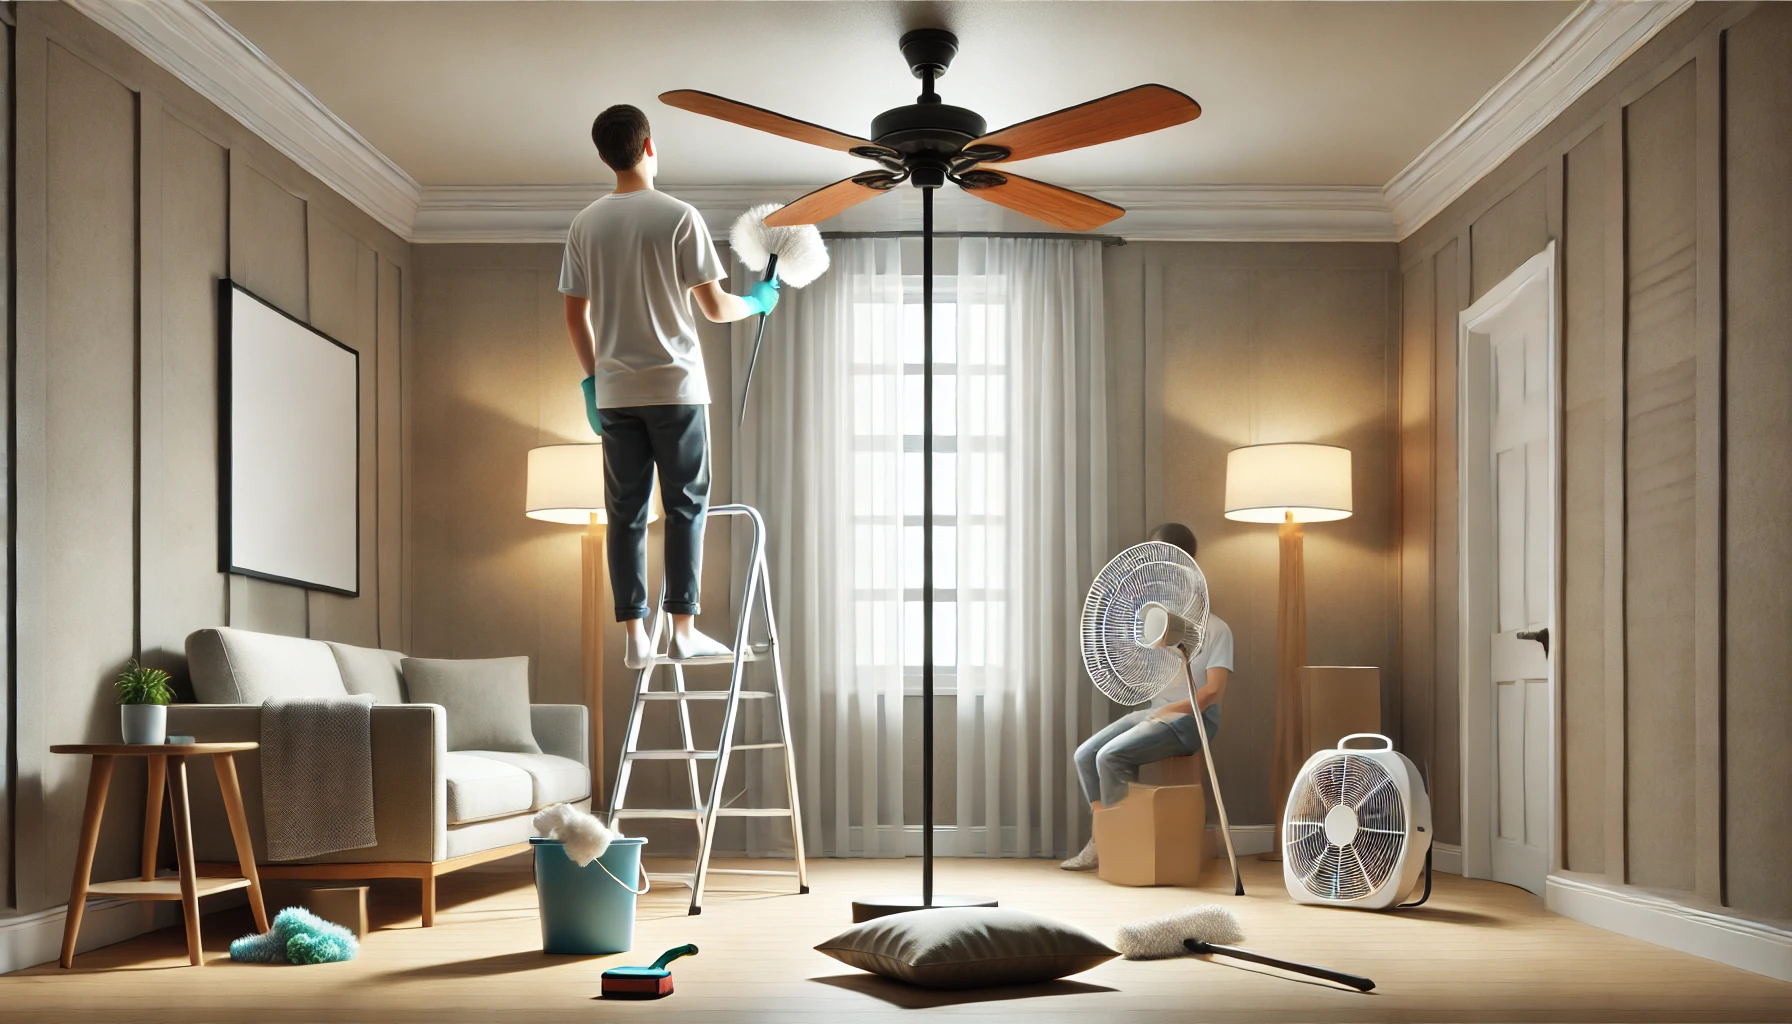
7. Light Fixtures and Ceiling Fans
Dust all light fixtures and ceiling fans. Remove any cobwebs that may have formed around fixtures, and wipe down light covers to remove accumulated dust and grime. Replace any burnt-out bulbs to leave the space well-lit and inviting. For ceiling fans, use a pillowcase to clean the blades—this will help trap dust and prevent it from falling onto the floor or furniture below.
8. Final Touches
- Trash: Make sure all trash is removed from the property. Double-check closets, under sinks, and any storage areas for forgotten waste items. Dispose of all trash responsibly, and leave garbage bins empty and clean.
- Doors and Handles: Wipe down doors, door frames, handles, and light switches with a disinfectant. Pay attention to fingerprints and grime that tend to accumulate in these areas, especially around doorknobs.
- Inspect for Missed Spots: Do a final walk-through of each room to ensure nothing has been missed. Check inside closets, behind doors, and in hidden corners to confirm that everything is spotless. Make sure all windows are closed and locked, and that all fixtures are in good condition.
Conclusion
Following this move-out cleaning checklist will ensure your old home is spotless and ready for the next occupants. Not only does a thorough clean help you get your security deposit back, but it also leaves behind a positive impression that reflects well on you as a tenant. Moving can be overwhelming, but with a well-organized cleaning plan, you can reduce stress and ensure a smooth transition. By tackling each area methodically, you’ll be able to leave the property in excellent condition and focus on settling into your new home.
Don’t have the time or energy for move-out cleaning? Let Perfect Cleaning Services take care of it for you! Our professional team can handle all the cleaning tasks, leaving your old place spotless and helping you secure your deposit. Contact us today to book your move-out cleaning service and experience a hassle-free move.